
Going Green - Up Cycled Mini Album

Supplies
Container,
we are using a box donated to the library
Envelopes
Wallpaper
samples
Paint
chips
Tissue box
Brad
White,
blue, pink and yellow paper
Burlap
Ribbon
Double
stick tape
Glue
7/8" Scallop Circle Punch
2 3/8"Scallop Circle Punch
Artisan Label Punch
Boho Blossoms Punch
1/2" Circle punch
To
begin the construction of the album we will create an accordian fold spine from
a strip of wallpaper cut 8.5” x 3”. Score 1” from either end and ½” increments
between.

The
one inch on the end is where the first envelope page will be attached. The next
½” space is the flat/valley spine
between pages. The 2nd and 3rd ½” spaces will be folded up in a mountain to create
the place to attach the second envelope page. Continue leaving a ½” flat/valley
and folding a mountain until you get to other 1” end. Use double stick tape on the wrong side of the
paper to tape the valleys shut. This will give you a patter of 1” flat, score, ½”
flat, mountain, ½” flat, mountain, ½”flat, mountain, ½” flat, mountain, ½”
flat, score, 1” flat.


You
can now begin adding your envelopes pages. To create the pages the envelopes
were sealed and 3” cut from each end making little pocks. Lay your spine
vertically and have all the mountains flatten so that they are pointing away
from you. Put double stick tape on the 1” flat end at the top. Position the envelope
pocket so that it is center on the 1” flat with the closed end lined up with
the score line. Add double stick tape to the mountain below on the side that
you can see and position your next envelope, lining up the bottom with the
score line and the sides with the sides of the envelope above it. Keep adding
envelopes to the other mountains.


Put double stick tape on the 1” bottom
piece and attach the last envelope with the closed side lined up with the score
line. The sides even with the other envelope and the opening facing you.

You now
have all of your pages attached and are ready to decorate.
You
will be decorating five layouts. Use double stick tape to attach the wallpaper
and paint chips to the pages using the pictures below as guides. Attach the
flower embellishments with a glue pen.


The tabs you can see on the pages are
inserts to slip inside the envelope opening. To create these, fold the
decorative punched piece in half and use double stick tape to adhere to the
white card stock. Glue the two blue tabs on the left, the two yellow in the
middle and the pink on the right. Glue a
flower in a different color to the right side of the tab.

We
can now decorate the cover. Use a piece of white card stock to reinforce the
spine. Put double stick tape on the white card stock in the middle making sure
that it does not extend to the edges.
Set
the spine of the album on the tape, making sure it is centered. Fold the ends
up and make a nice crease even with the front and back envelope. Add more tape
to secure the ends to the envelope pages on each end. Use tissue box card stock to make the cover.
If the tissue box looks good with the pages you can use as is. If the box does
not coordinate, cover with wallpaper to match the rest of the album. Attach with double stick tape. Your album is now
ready to go in the file box.


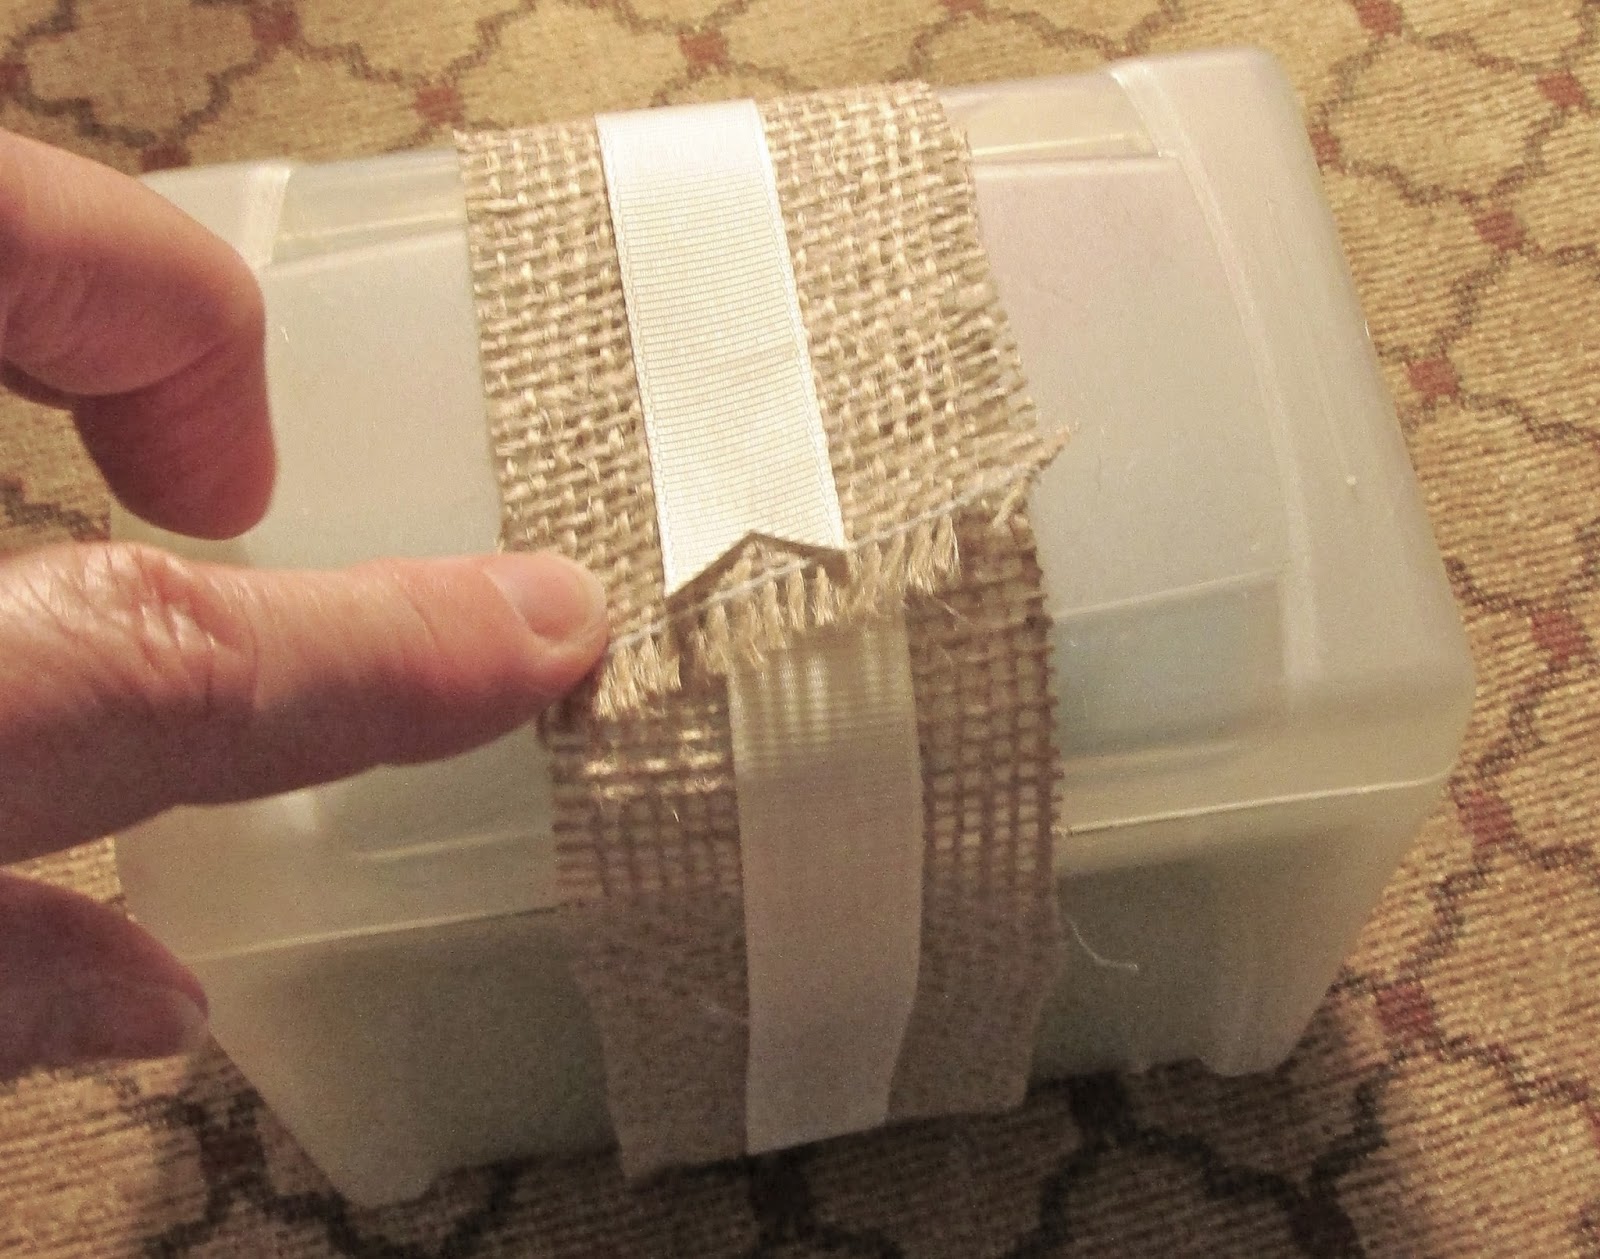
To
make the flower to decorate the belly band, stack the 5 punched scalloped circles
and use the point of a scissors to poke a hole in the center of the stack.


Place
a brad through the hole and use that to hold on to.

Begin with the top punch and pull it up and crunch it. Pull up and crunch each of the next 3 punches and leave the bottom one flat. Spread the prongs of the brad to secure and glue on top of the ribbon on the file box.


Comments
Post a Comment